


all images used in this post are from Taylor Gray Photography
My sweet client, Taylor, reached out to me the other day wanting to know how difficult it would be for her to create more photoshop templates like the ones I provided her during her rebrand.
She has been loving the templates, and they have really helped her streamline her process and share more consistent content on her Instagram stories, so she was wanting to create more templates for the upcoming wedding season.
Rather than sending her off to Google away, I told her it would be a perfect blog post for me to write. I’m a huge fan of Photoshop templates with smart objects, and I’ve actually created quite a few one-off tutorial videos on this, so why not just put it all together in a blog post?
Taylor was even kind enough to let me borrow some of her images to use in this tutorial!
I’m a huge fan of using smart objects in Photoshop to create templates that can be used over and over to quickly (and easily) create collages for Instagram stories or other social media platforms.
In this post, I’ll be walking you through the start to finish process of building your own on brand Photoshop smart object templates.
Setting up your template:
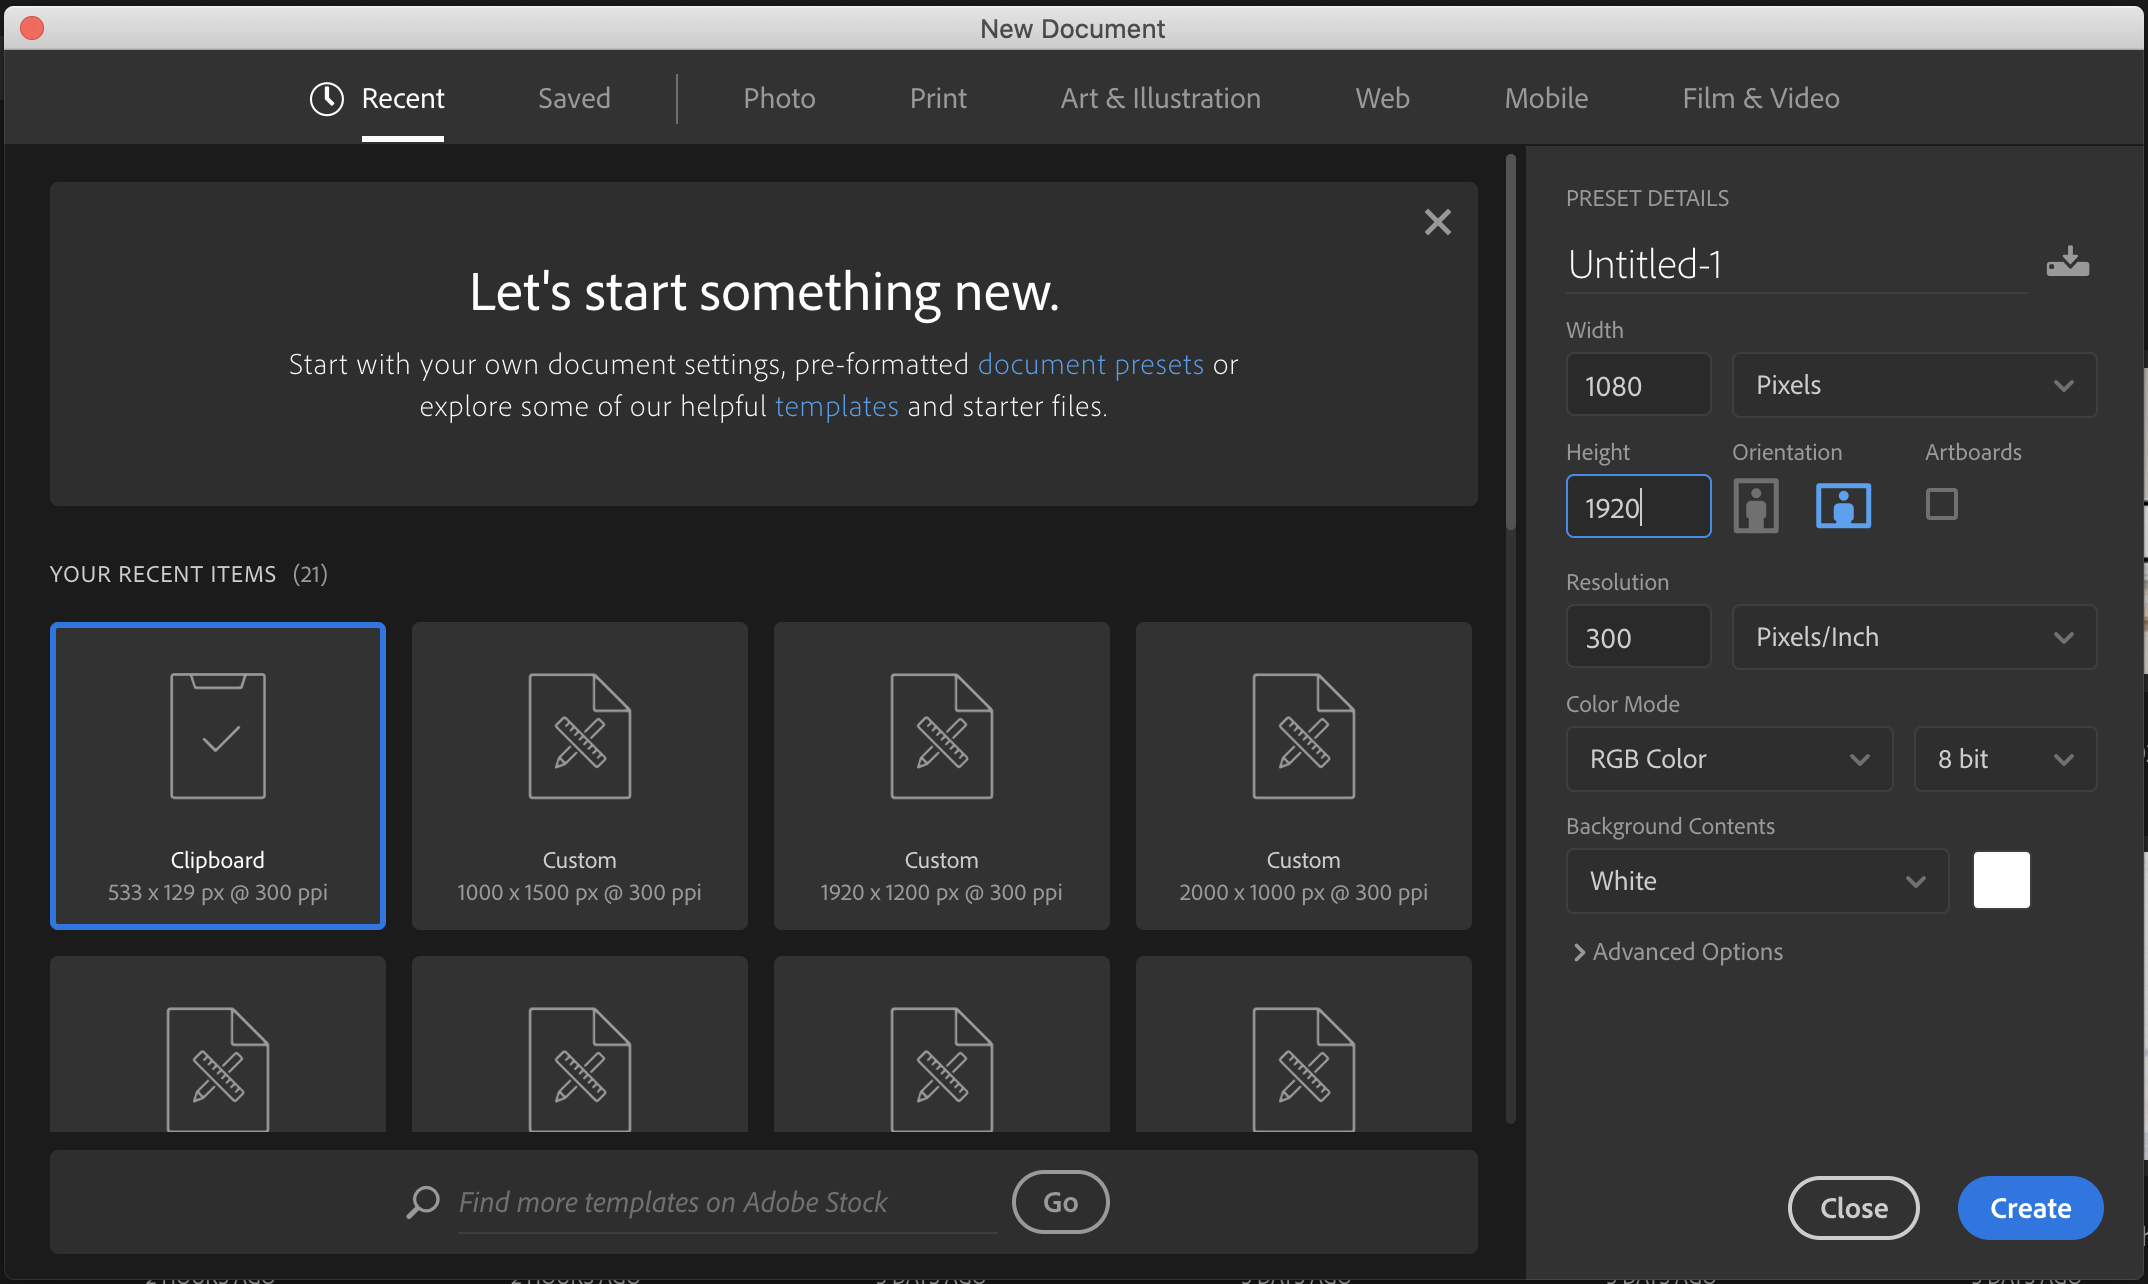
Step 1: Set up your canvas
Pretty self explanatory, but the first step of this process is to set up your photoshop canvas. The size you need will depend on the social media platform you are using, but in this example we’re creating an Instagram story template, so we will use 1080px wide by 1920px high.
Step 2: Create a wireframe
Before we start adding pretty pictures, logos, and other brand elements, I like to get a rough idea of what I want the final layout to look like. Maybe you’ve already got an idea in mind, or maybe you’re starting from scratch – either way is totally fine.
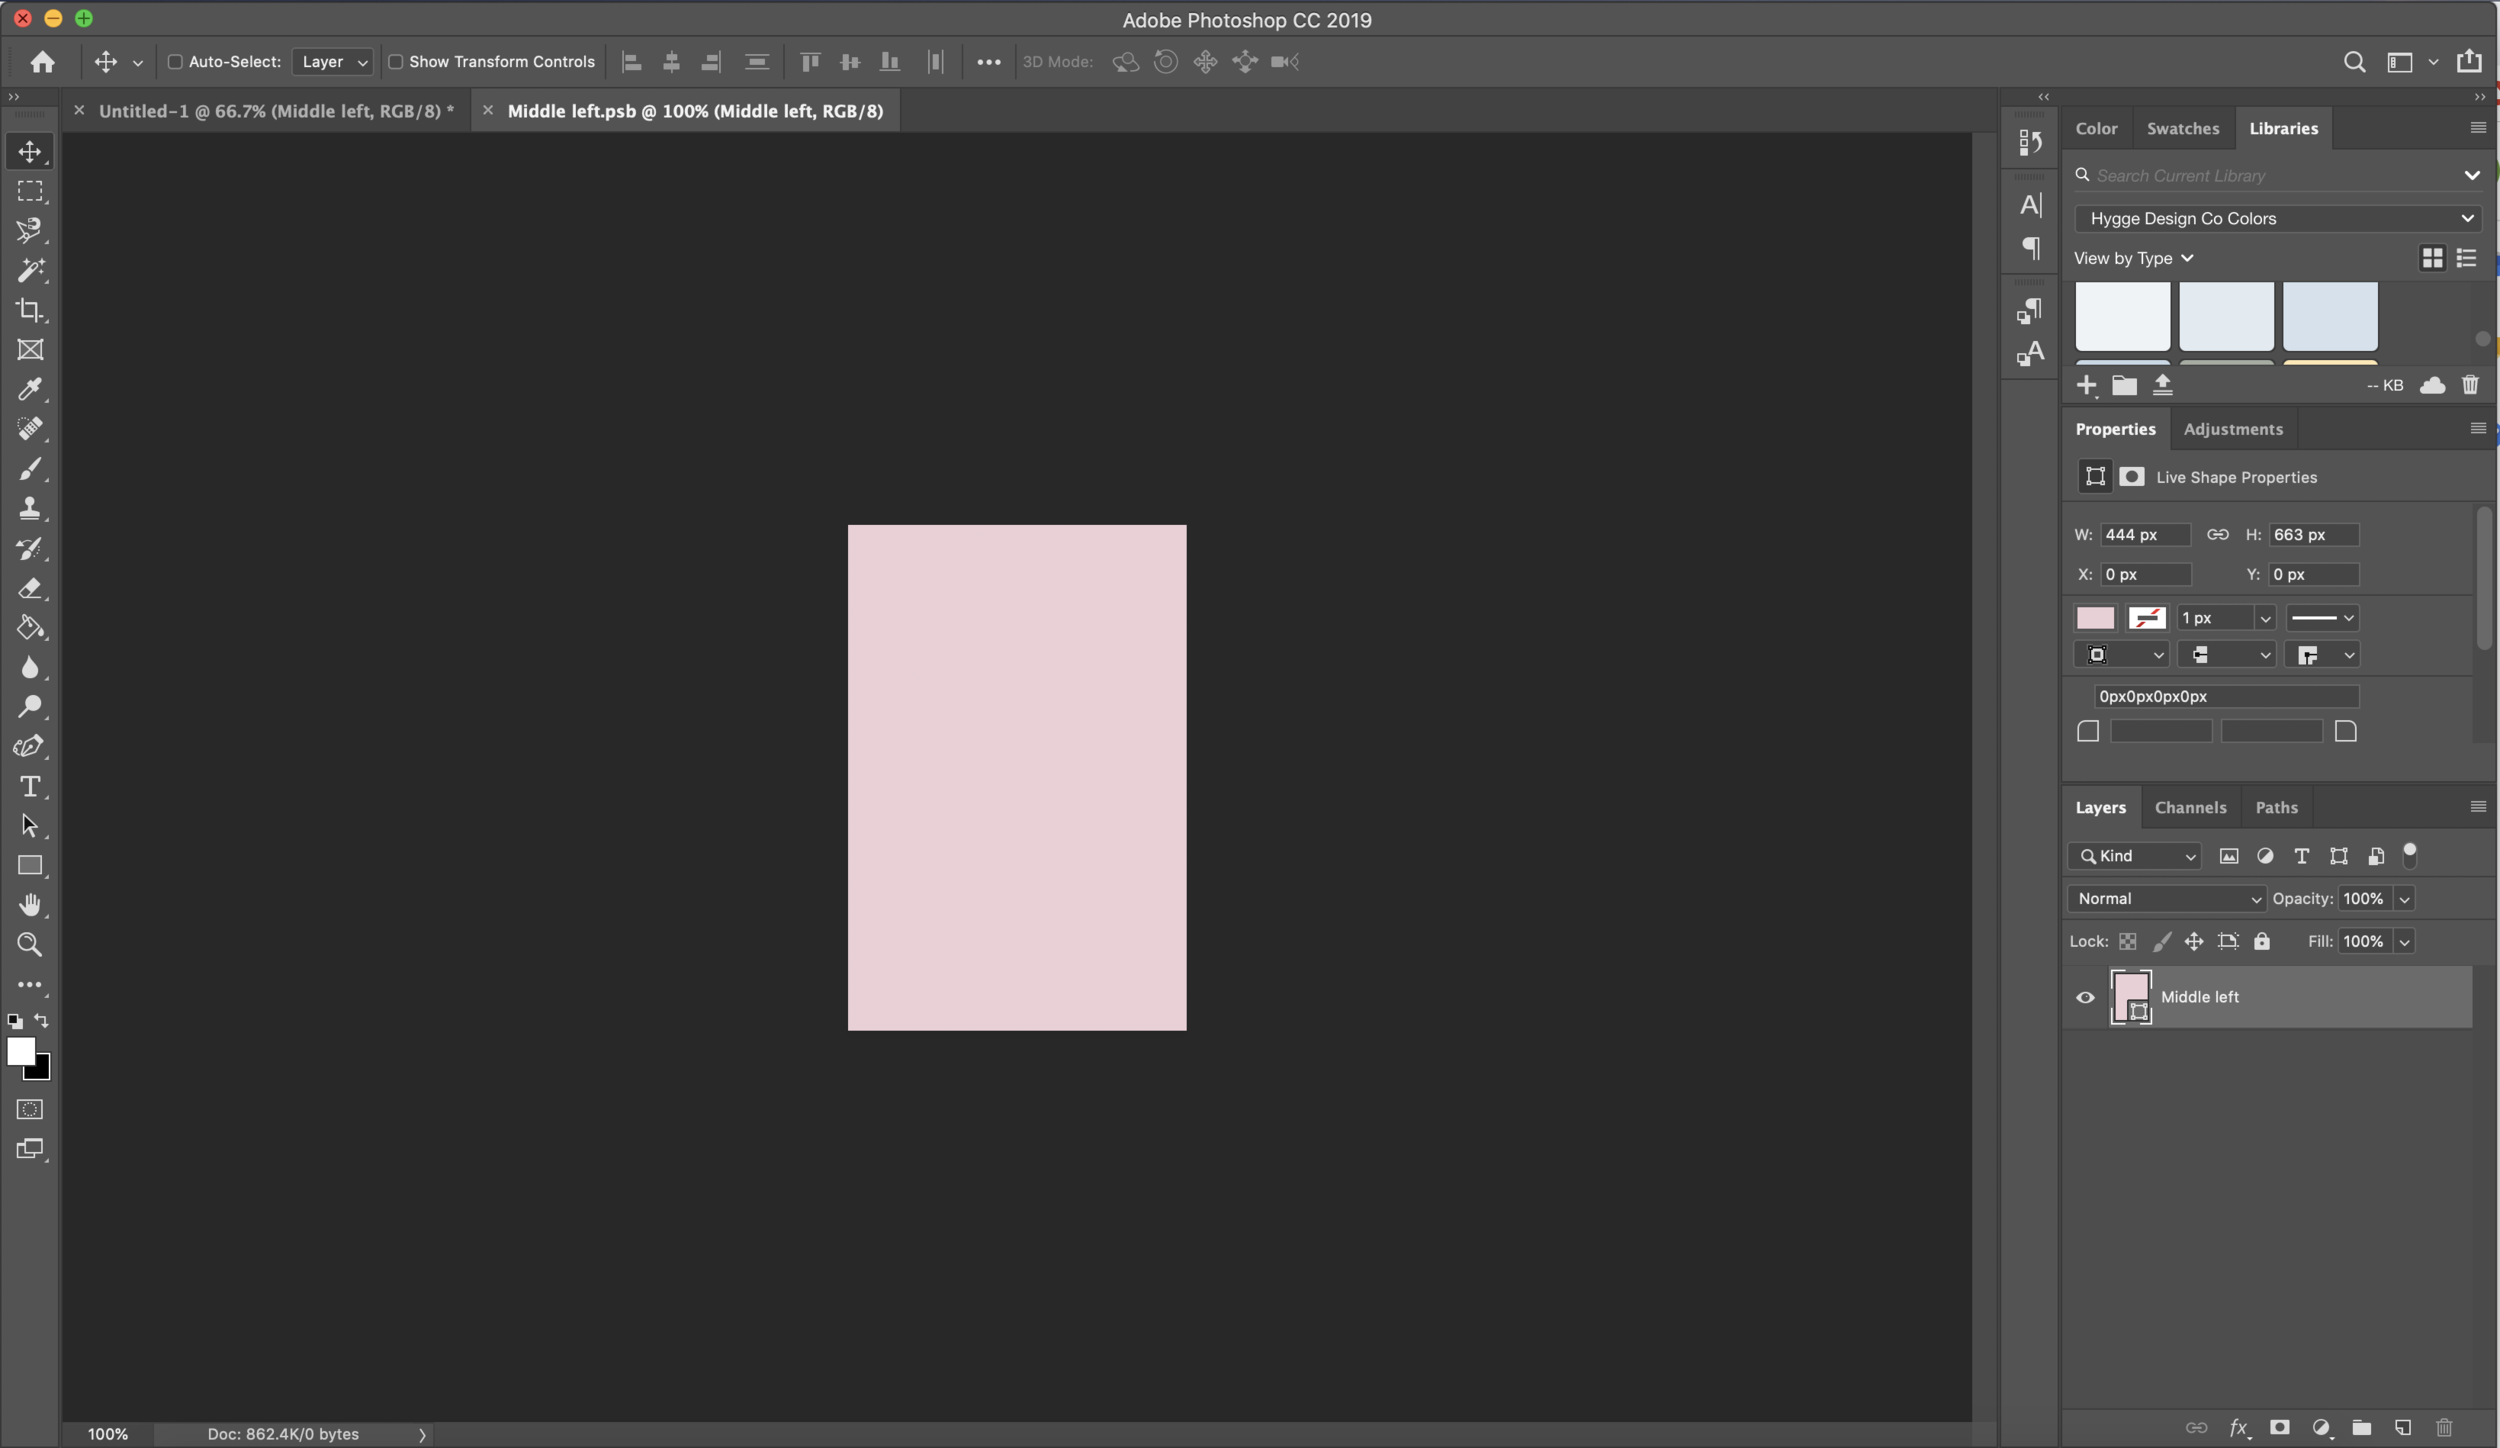
To do this, I start adding colored blocks using the rectangle tool, just like this:

It doesn’t really matter what color they are, and you can always play around with the layout etc based on what you had in mind!
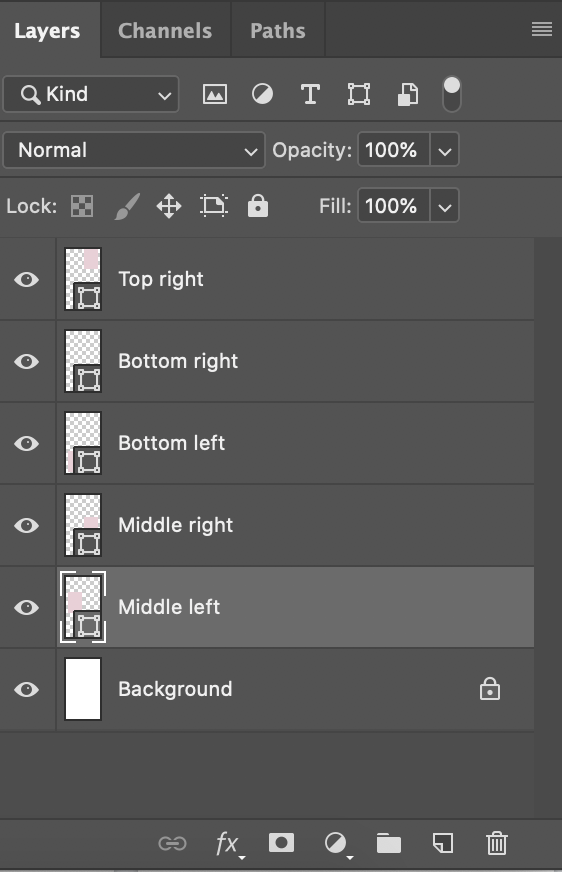
Step 3: Rename Layers Convert to smart objects
Next up, I prefer to keep my photoshop files neat and tidy – especially if I’ll be sharing with clients or others later down the road. While I might know exactly how I set it up, I don’t want to waste someone else’s time by having them hunt down the layers.
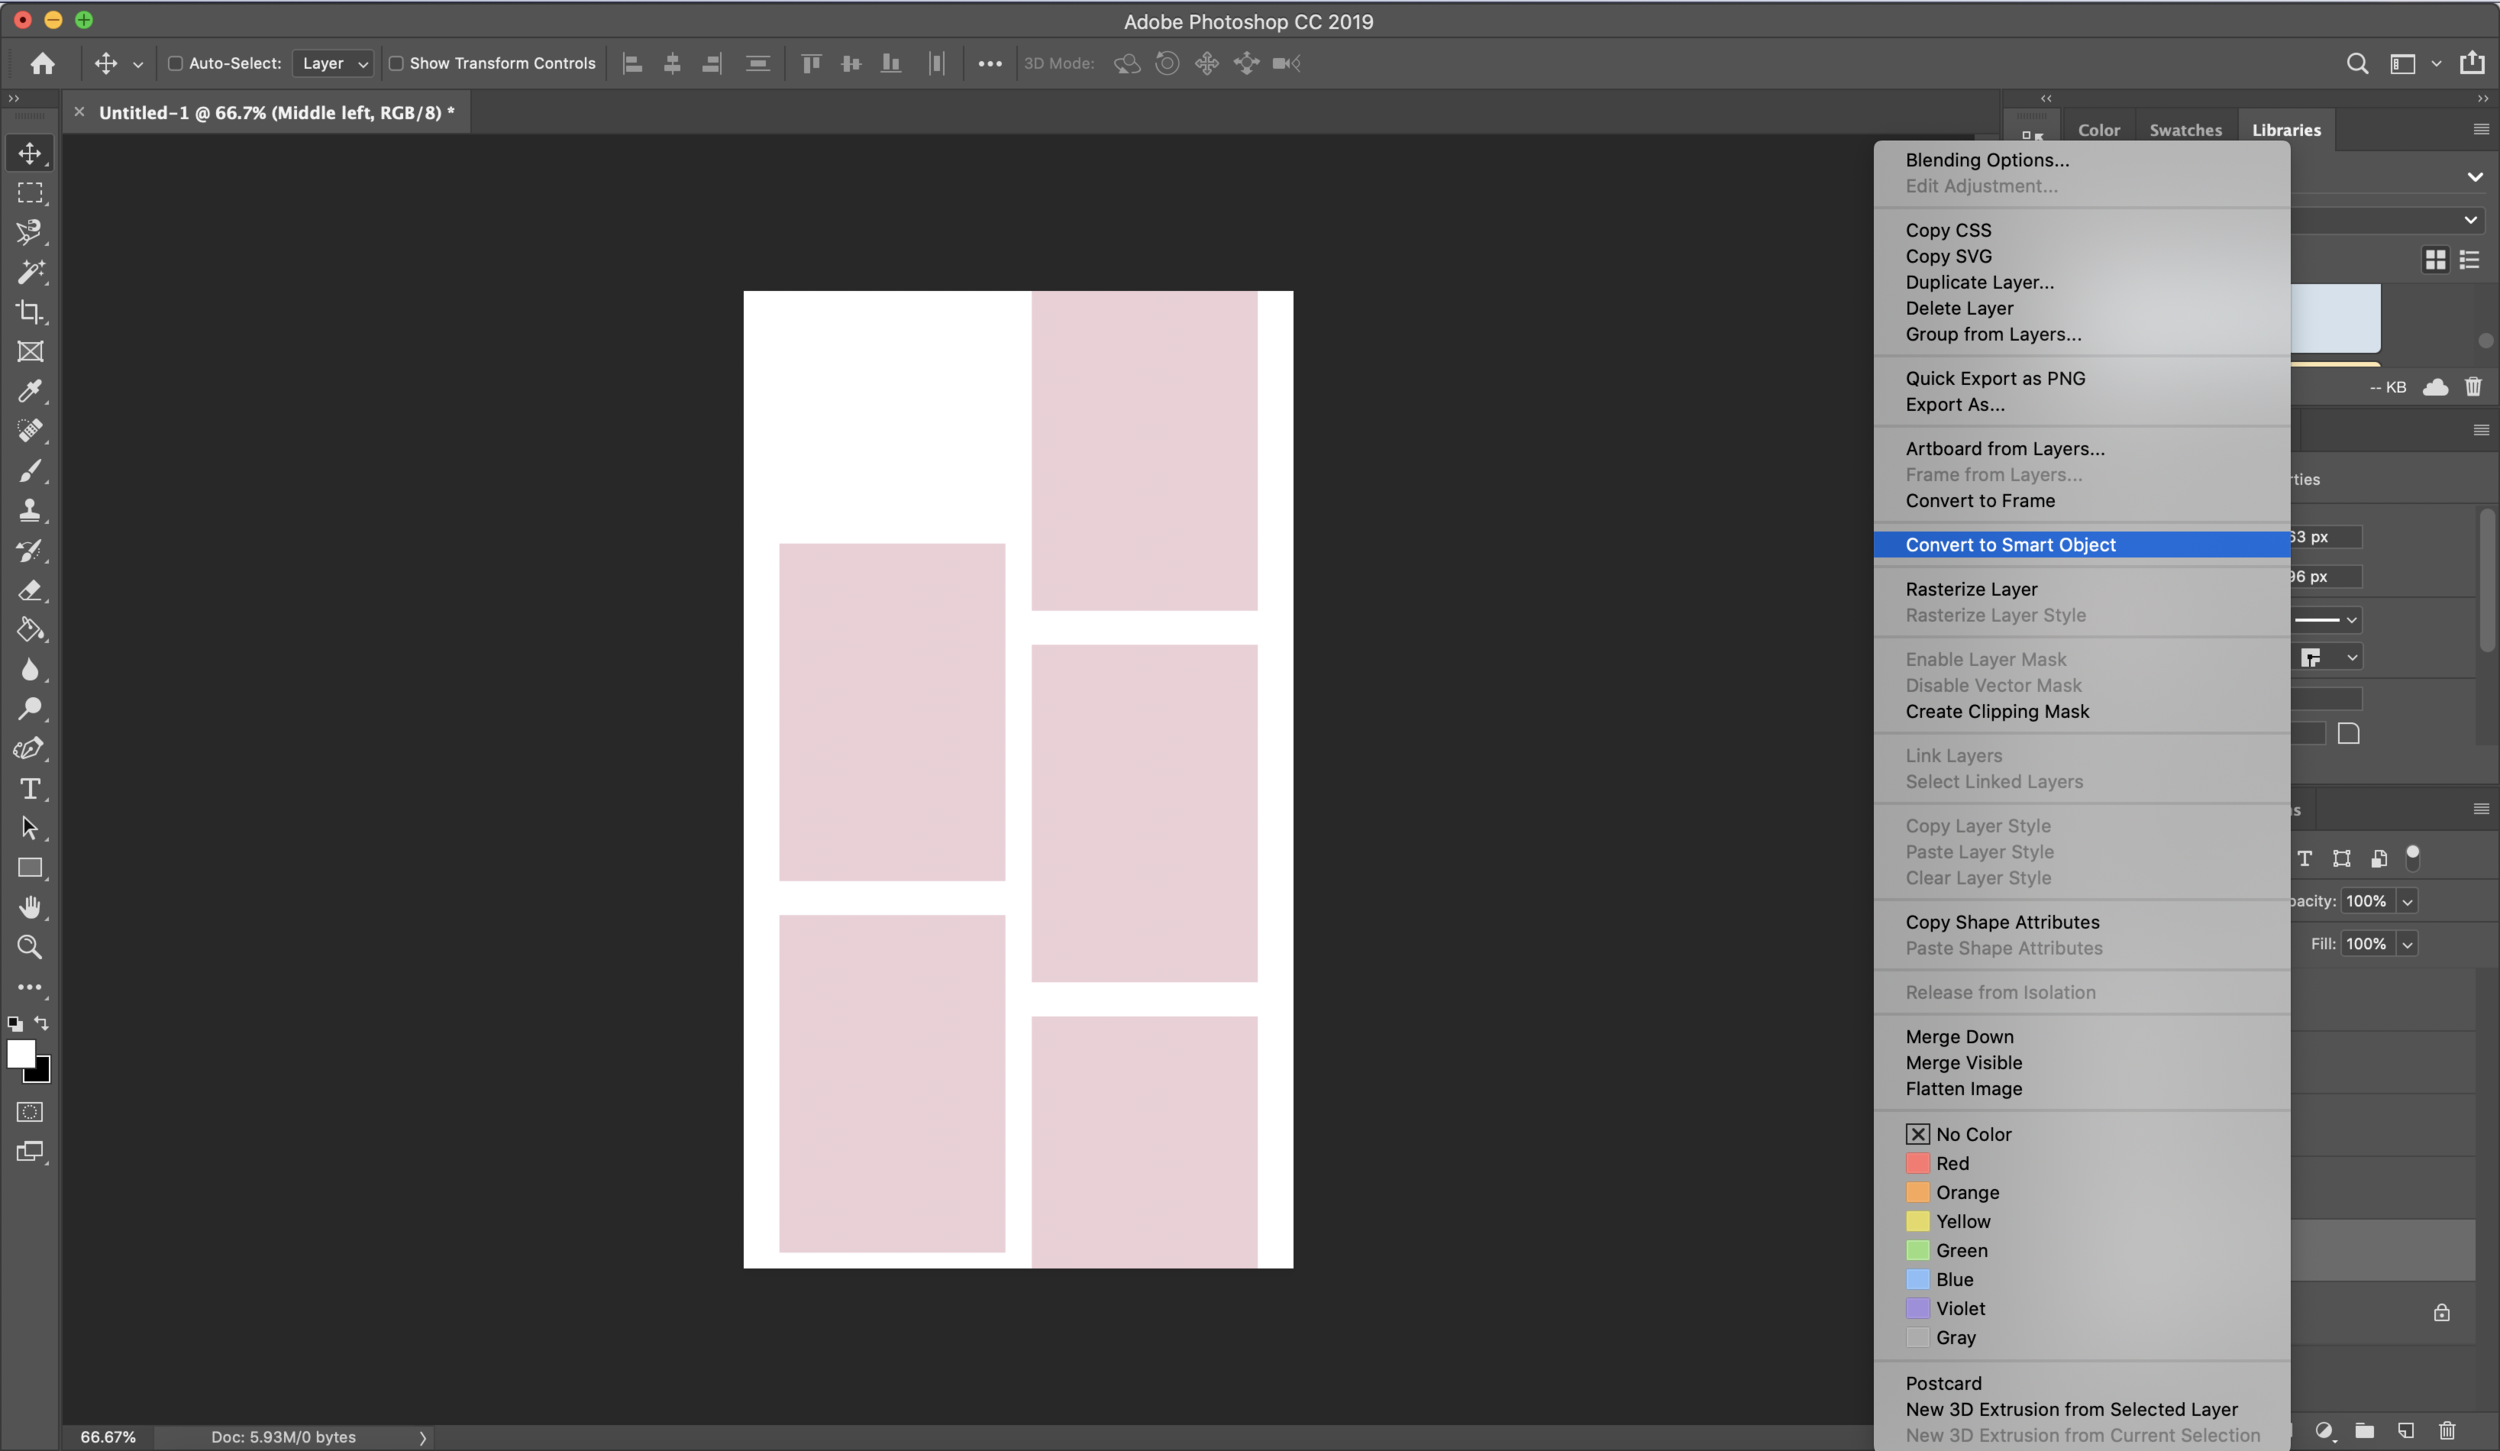
Step 4: Convert to smart objects
Then, we’ll convert the shapes/rectangles into smart objects. This is what will actually turn this into a template we can easily use in the future!
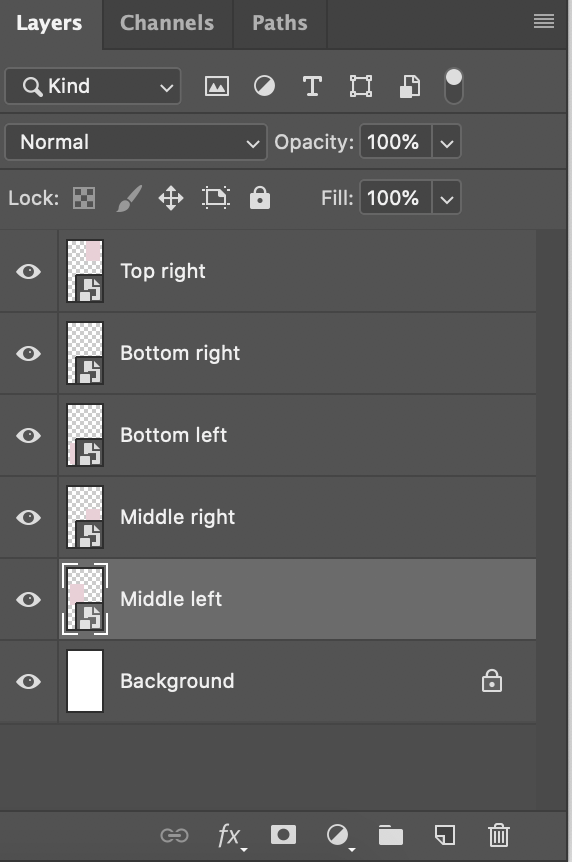
Right click on each of your layers and select “Convert to smart object”
Once you’ve completed this step, your template is ready to use!
Using your smart object photoshop template:
Now that the template is set up, the fun part starts. Don’t forget to save your psd file along the way so you can come back to it if needed.
To place an image in your rectangle, double click on the icon, right on the thumbnail. This will open up your rectangle in a new tab in Photoshop.
Placing your image:
In the new tab that opened, place the image you’d like in place. You may need to adjust it to fit or maybe even zoom in/out to showcase the details you need.

Once the image is in place where you would like it, click save on the image tab that opened and close out of it.
You’ll see that your image has now been placed inside one of your frames. Repeat the steps for the remaining rectangles to fill your template.

Save your image:
Now all you have to do is go to File -> Save as and save your image as either a png file or jpeg file. Then you can choose to either save your template with the images, or leave it with your colored rectangles for the next time you create a collage.
And that’s it! You’ve successfully created your very own photoshop template to use for your business! This is one of my favorite ways to create client templates, especially for photographers, since these files are so easy to update but keep the brand consistency going.
Are you looking for help with upleveling your own brand and website for your creative business? You’re in the right place. Click below to learn more about my brand strategy and web design services for creative entrepreneurs!


