


The Squarespace summary block is a great way to show off your client praises to convince potential customers of just how wonderful you are to work with.
The truth is, as human beings we seek out social proof to convince ourselves that our investments are a good decision.
If you’re trying to make the decision easier for your potential clients, styling your Summary block testimonials with a little CSS can be a great way to further make these stand out and become even more eye catching!
In this blog post I’ll walk you through three different ways you can style your Squarespace summary block testimonials using easy CSS (don’t worry, step by step instructions are included).
Step 1: Targeting our Summary Block
If you’re anything like me, you’ve probably realized just how versatile the Squarespace summary block can be. I use the summary blocks for a variety of reasons, like styling my testimonials, telling my story on my about page, showing off blog posts throughout the site, etc.
Because of how many different ways I use testimonials on my site, I need to get more specific with how I target my summary block in CSS to make sure these changes only affect the one testimonial summary block, and not all summary blocks across the site.
The easiest way to target specific Squarespace blocks is through the Google Chrome extension called Squarespace Collection/Block Identifier (just follow the link to install).
If you don’t already have your testimonial summary block set up, now would be a great time to do that! If you’re confused on how to go about that, just follow this simple step by step tutorial for How to show off your testimonials in Squarespace.
Next up, we can now find the CSS identifier for our testimonial. Go to the page on your website where your testimonials are and click on the Squarespace Collection/Block Identifier.
Your page should now look something like this:

Each block used in your Squarespace design has now been given its own yui identifier. This is exactly what we need to target our summary block.
In the case above, the identifier we need to use is called #block-yui_3_17_2_1_1552742258023_6130
Pro tip: Using the Squarespace Collection/Block Identifier, just click on the identifier you need, and it’ll automatically be copied to your clipboard!
Step 2: Let’s play around with some CSS
Once we have our block-yui identified (and copied to our clipboard), it’s time to head over to our custom CSS editor. In your Squarespace menu, go to Design, then all the way at the bottom choose Custom CSS.
To make sure that you grabbed the right code, try inserting the following into your CSS editor making sure to replace my #block-yui with the one you just copied:
#block-yui_3_17_2_1_1552742258023_6130 {
background-color: #f0f0f0;
}
The background for our entire block should now turn grey. If that is the case for you, we’re ready to move on!
Pro tip: I prefer to check my CSS work along the way to make sure it’s doing what I think it will. This way it’s easier to find and rectify potential issues, just like we did above.
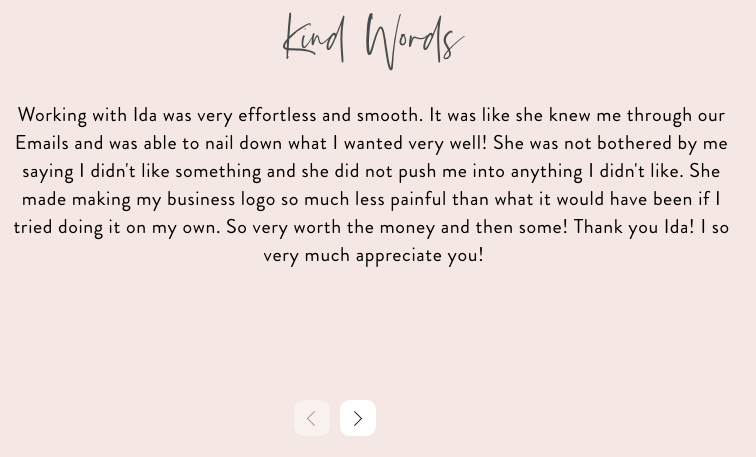
CSS Hack 1: Adding a border around your summary block
This first hack lets us add a border around the summary block like this:

To do this, add the following code (again, making sure to change up the #block-yui portion to match your site):
#block-yui_3_17_2_1_1552742258023_6130 {
border-style: solid;
border-color: white;
border-width: 2px;
}
All the properties in the CSS code snippet above can be changed to fit the style of your site. Need the border to be a different color? Replace the white with the hex code you need! You can also play around with the border width until you find one you like!
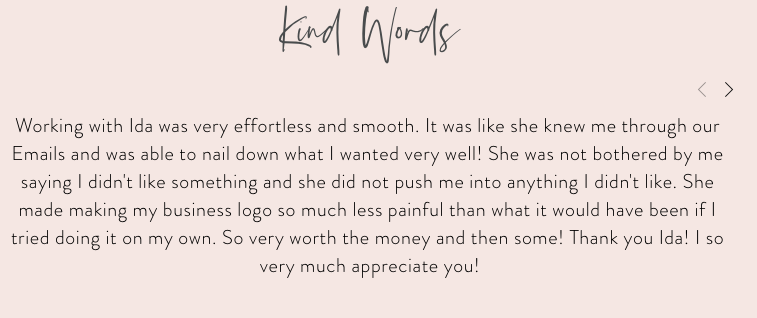
CSS Hack 2: moving and styling the next and previous control arrows:
Next up we’ll play around with the previous and next arrows on our summary block!
#block-yui_3_17_2_1_1552742258023_6130 .sqs-gallery-controls .next:before, .sqs-gallery-controls .previous:before {
background-color: white;
border-radius: 10px;
padding: 10px;
}
#block-yui_3_17_2_1_1552742258023_6130 .summary-carousel-pager {
position: absolute;
width: 100px;
bottom: -15px;
left: 285px;
}
CSS Hack 3: changing the font settings for your testimonial:
Finally, if you’d like to tweak the font settings for just your testimonial summary block, this is the perfect solution:
#block-yui_3_17_2_1_1552742258023_6130 {
p{
font-family: brandon grotesque;
font-weight: 100;
font-size: 20px !important;
color: #000000;
text-transform: none;
letter-spacing: 0.03em;
}
}
Make sure that you’re editing the #block-yui to match the one you’re trying to target, and don’t be afraid to play around with the numbers to get different effects from these CSS hacks!
Is all of this CSS lingo making you feel cross-eyed? Don’t worry, friend!
As a Squarespace web designer, I’d be happy to take care of all of this for you! If you’re looking for help building your updated website, you’re absolutely in the right place.
Learn more about my web design services below, and get in touch today for a free consult call so I can get you a design date!


